


Energy: Caustics
Mar 25, 2025

Introduction
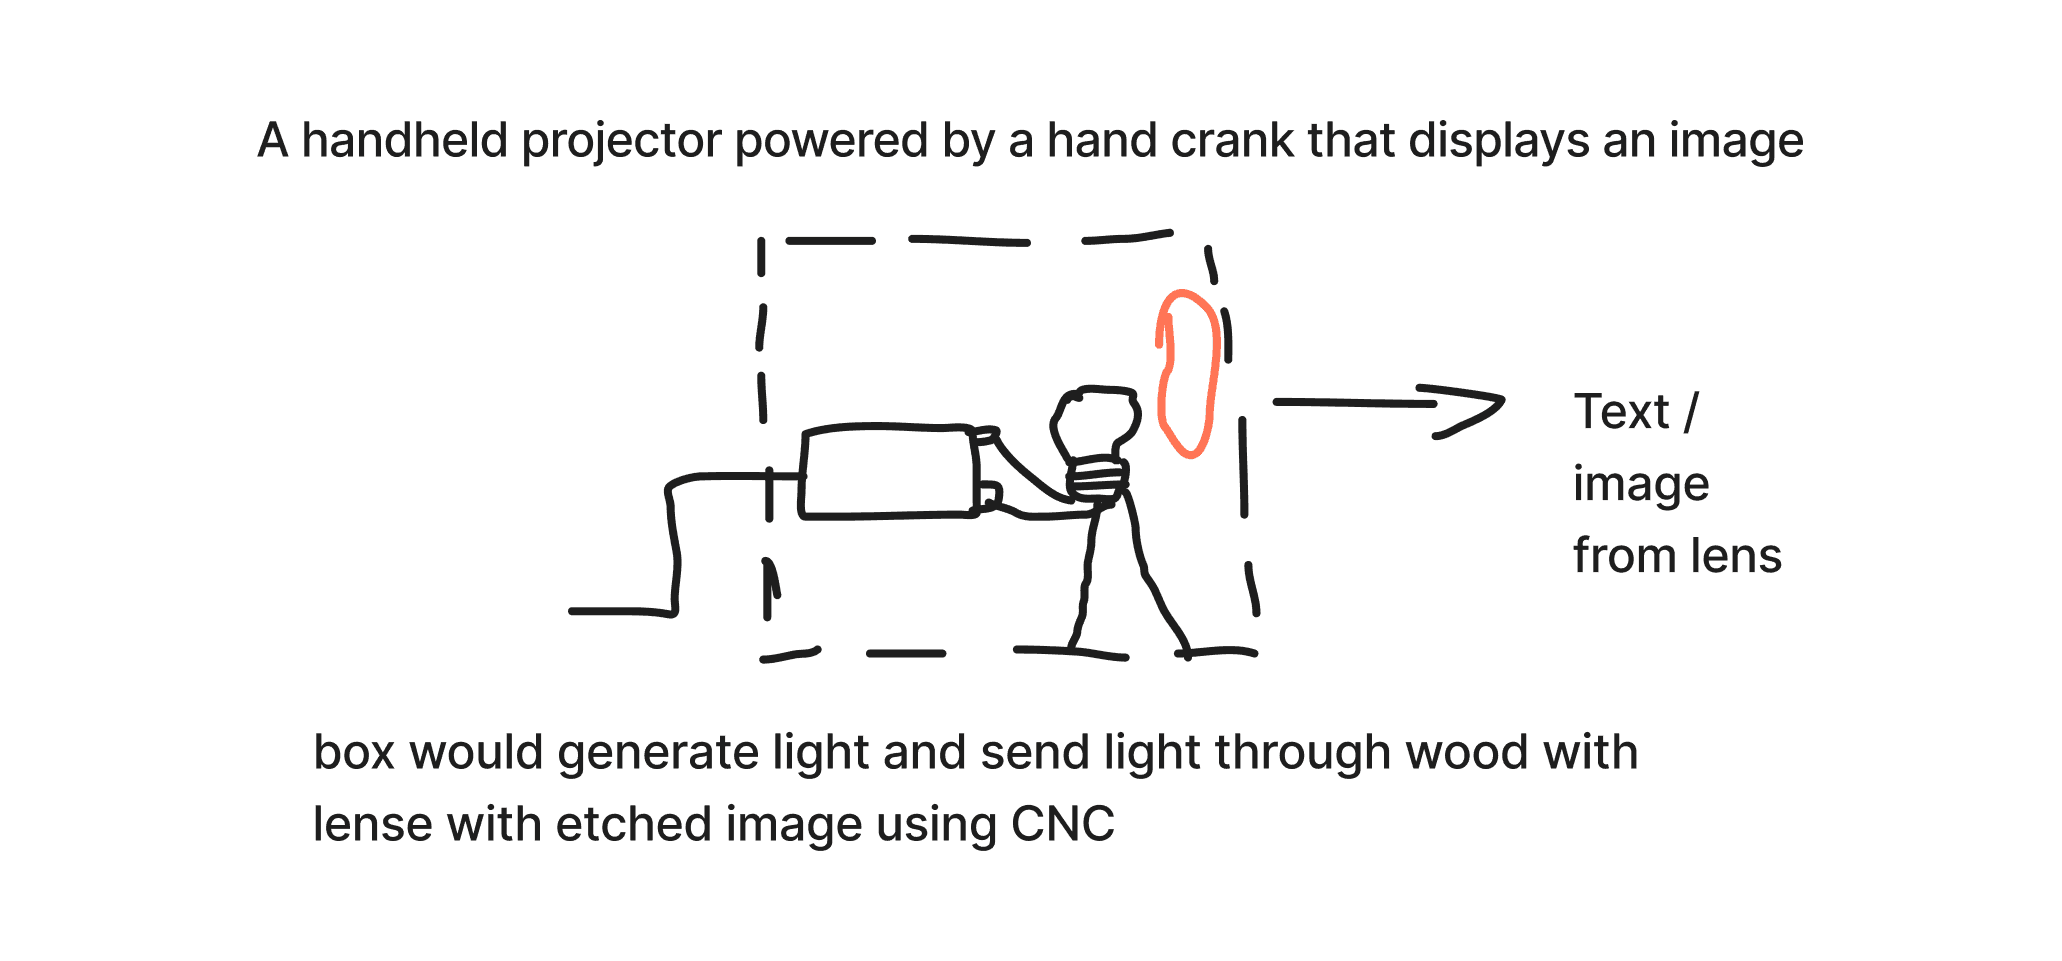
Ryan and I brainstormed everything from practical illuminated shelves to playful ideas like LED treasure chests. We landed on a hand-cranked projector, something our power setup could handle, and a chance to build something both technically interesting and a little delightful.
Exploration of Ideas & Research
To get started, we looked at a range of references. One standout was an Instructables guide for a hand-cranked motion picture camera built from laser-cut MDF and gears. We also dug into the design of early 20th-century hand-crank cameras.
Hand-cranked motion picture camera from Instructables & Vintage camera reference
An interesting reference we discovered was Jenny Holzer's "Projections" series, where she transforms architecture into canvases for projected poetry. Her work in Venice particularly caught our attention, demonstrating how projected text creates immersive experiences.
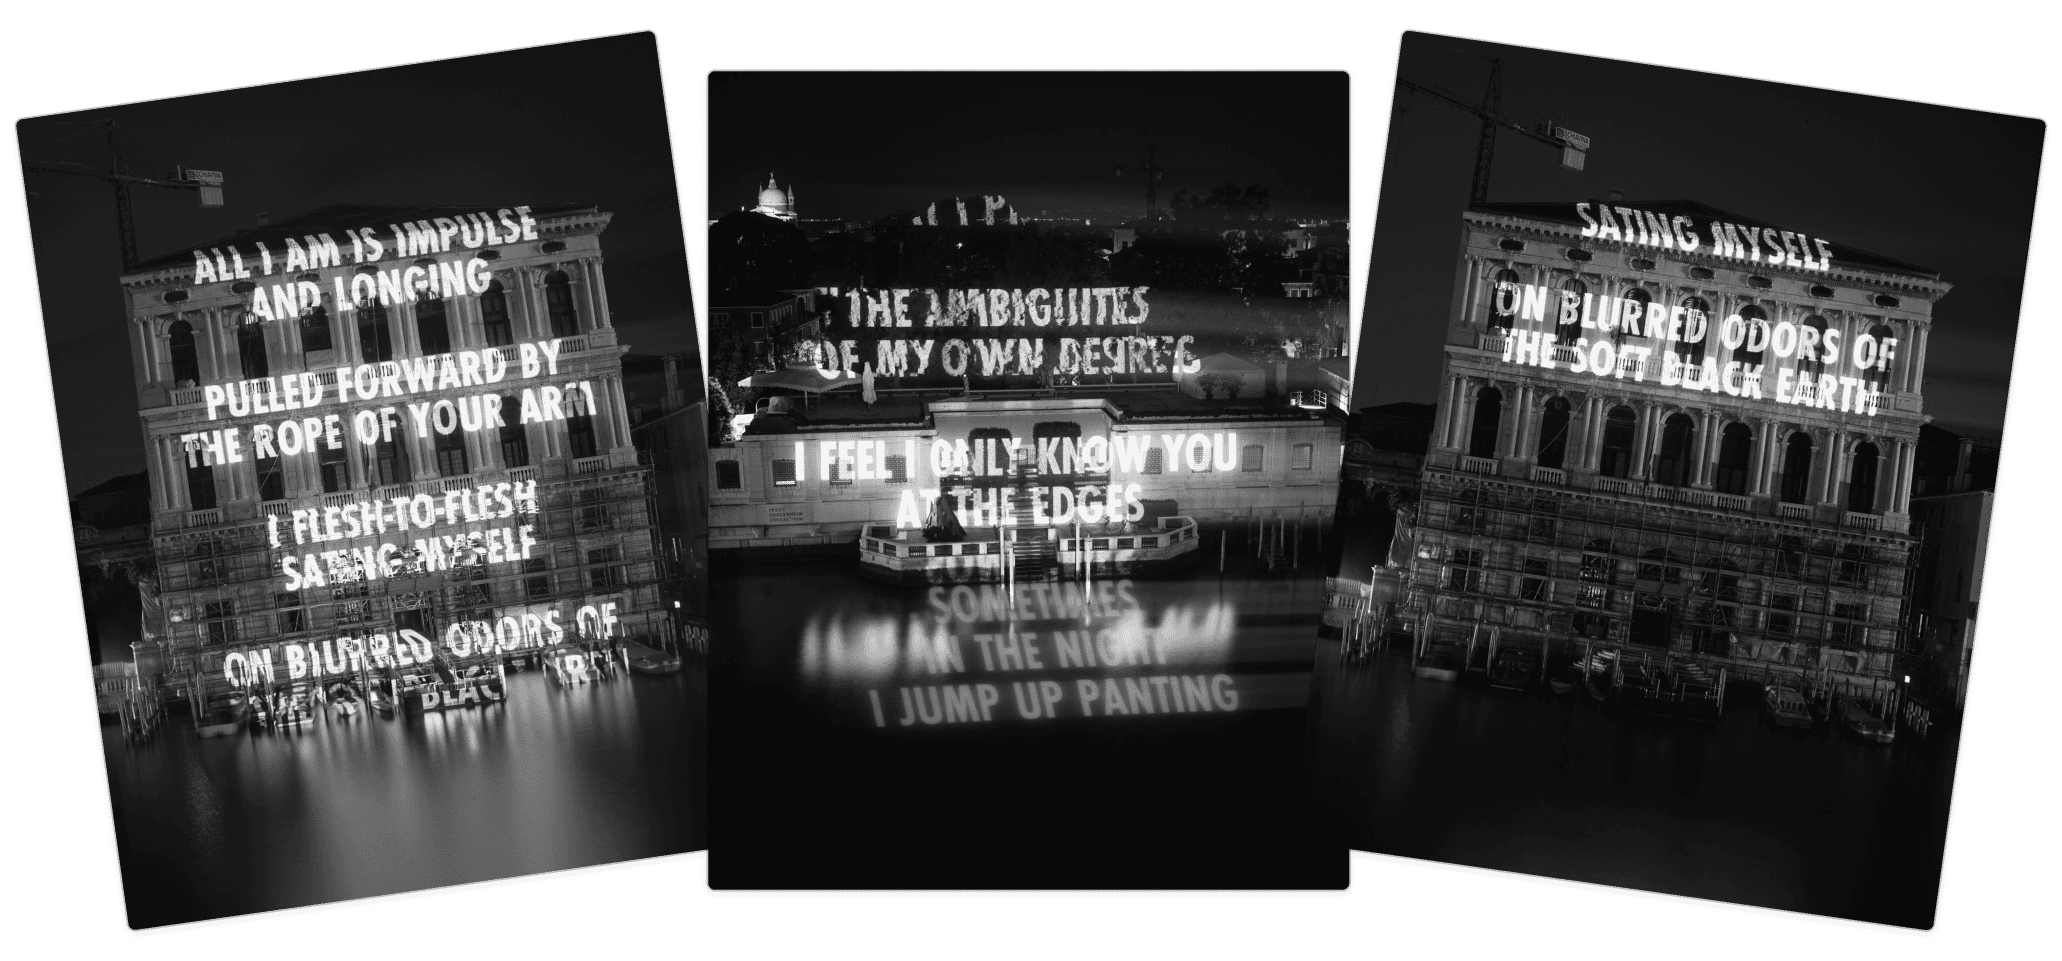
Jenny Holzer's Venice projection
An important moment in this project came during a class discussion when Jeff suggested exploring modified acrylic lenses. This led us to Matt Ferraro's work with caustic lenses, where subtle surface manipulations in clear acrylic create photorealistic projected images when light passes through them.

Caustic lens examples by Matt Ferraro
This approach was appealing: complex images, mechanically simple, and all powered by hand.
Component Selection and Initial Testing
Our project required careful selection of components to ensure both functionality and feasibility. The core components include:
12V DC Motor (50 RPM)
Hand crank mechanism (to be designed)
12V LED bulb
Basic electrical components (resistors, diodes, capacitor)
Wooden panels for housing
Acrylic sheet for caustic lens
Our initial testing began with a 12V 10 RPM motor, but we quickly discovered this was impractical for manual operation. The resistance was too high to turn comfortably by hand. Switching to a 50 RPM motor proved much more successful, generating enough power to illuminate a white LED while requiring reasonable effort.
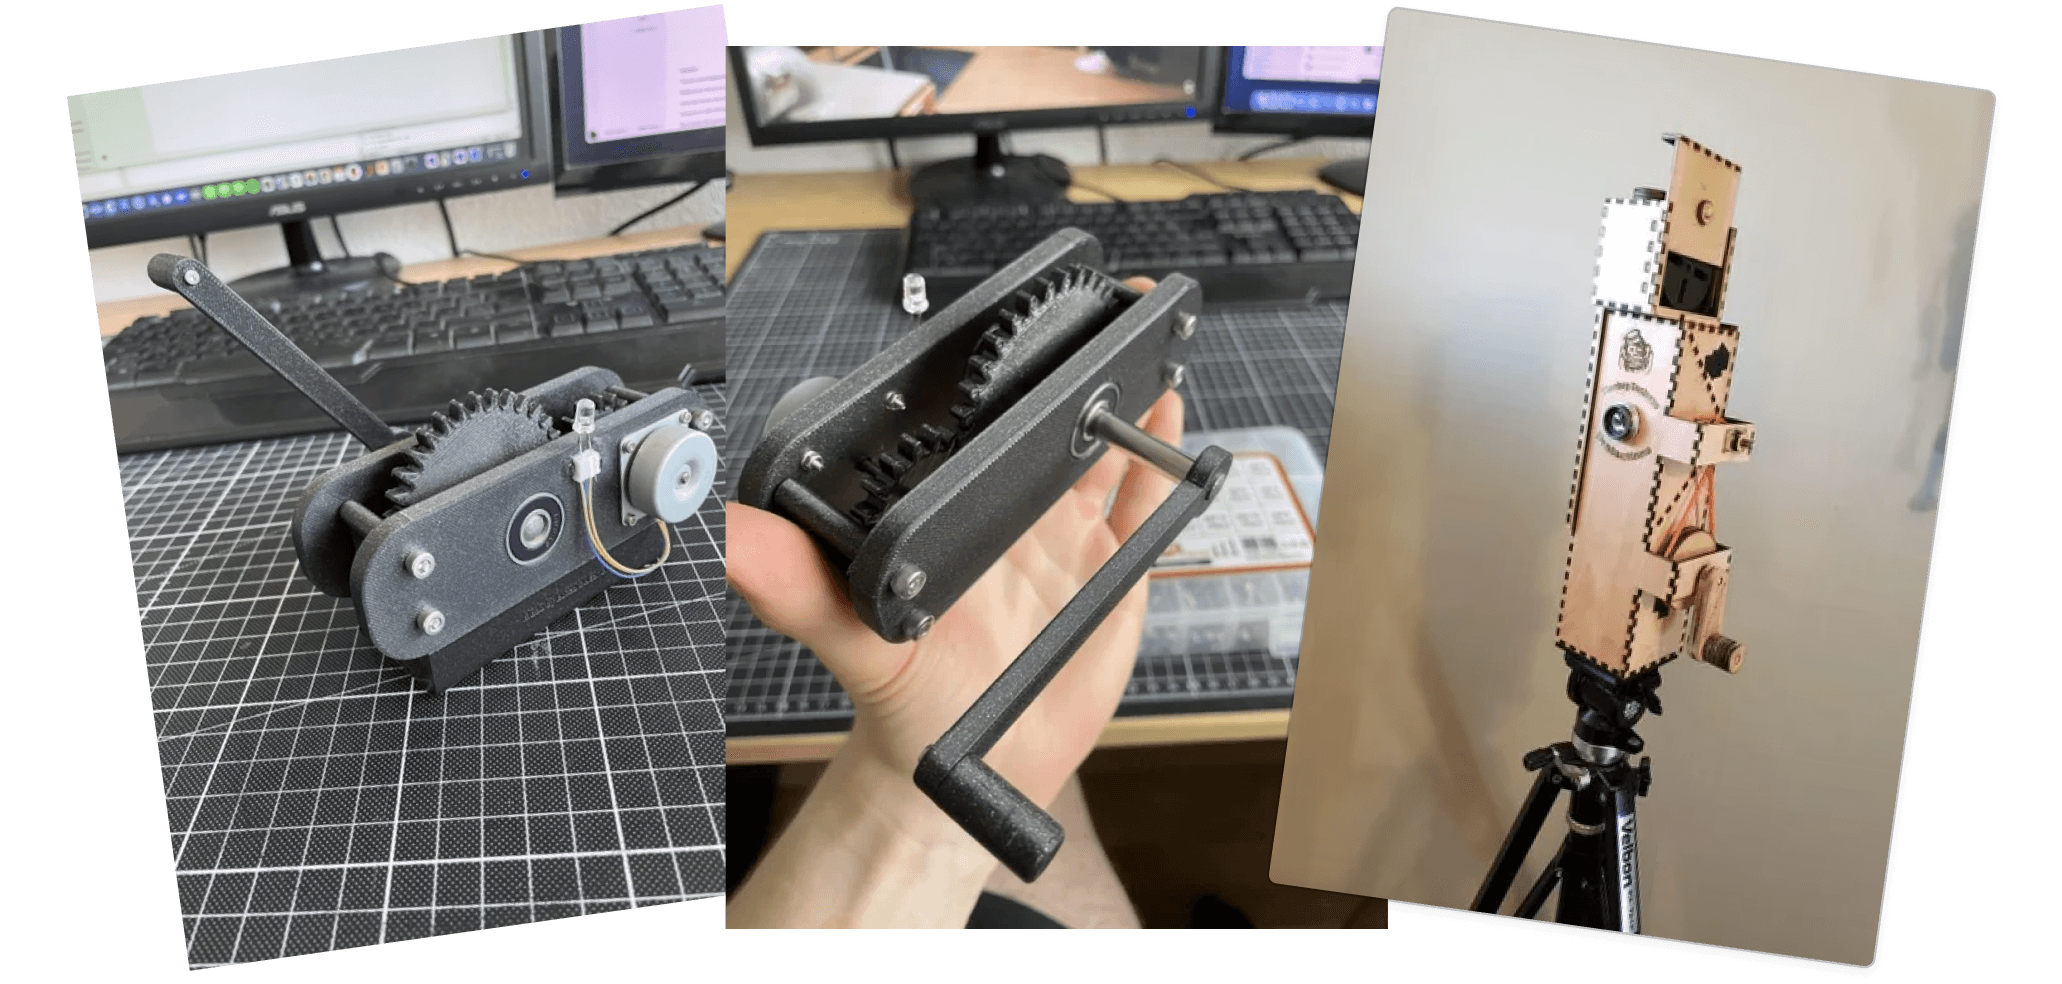
For the hand crank mechanism, we evaluated several fabrication options including 3D printed design for quick prototyping, pre-made metal crank for durability, or custom metal fabrication for robustness. The final decision would be made as our prototyping progressed and we better understood the physical forces and durability requirements.
Hand crank mechanism sketches
Creating the Caustic Lens
Our caustic lens system presented the most significant learning curve, requiring us to master the CNC machining process for creating precise surface variations in acrylic.
We began by reaching out to Matt Ferraro, who generously responded with additional resources for our project. With his guidance, we selected a lightning bolt image as our test subject - an appropriate symbol for our energy-focused project.

Lightning bolt source image
Using Ferraro's Julia code, we successfully generated a 3D model (.obj file) of our lens. The process was surprisingly seamless - we simply cleared out the Examples folder, replaced it with our lightning image, and updated the references in the code files.
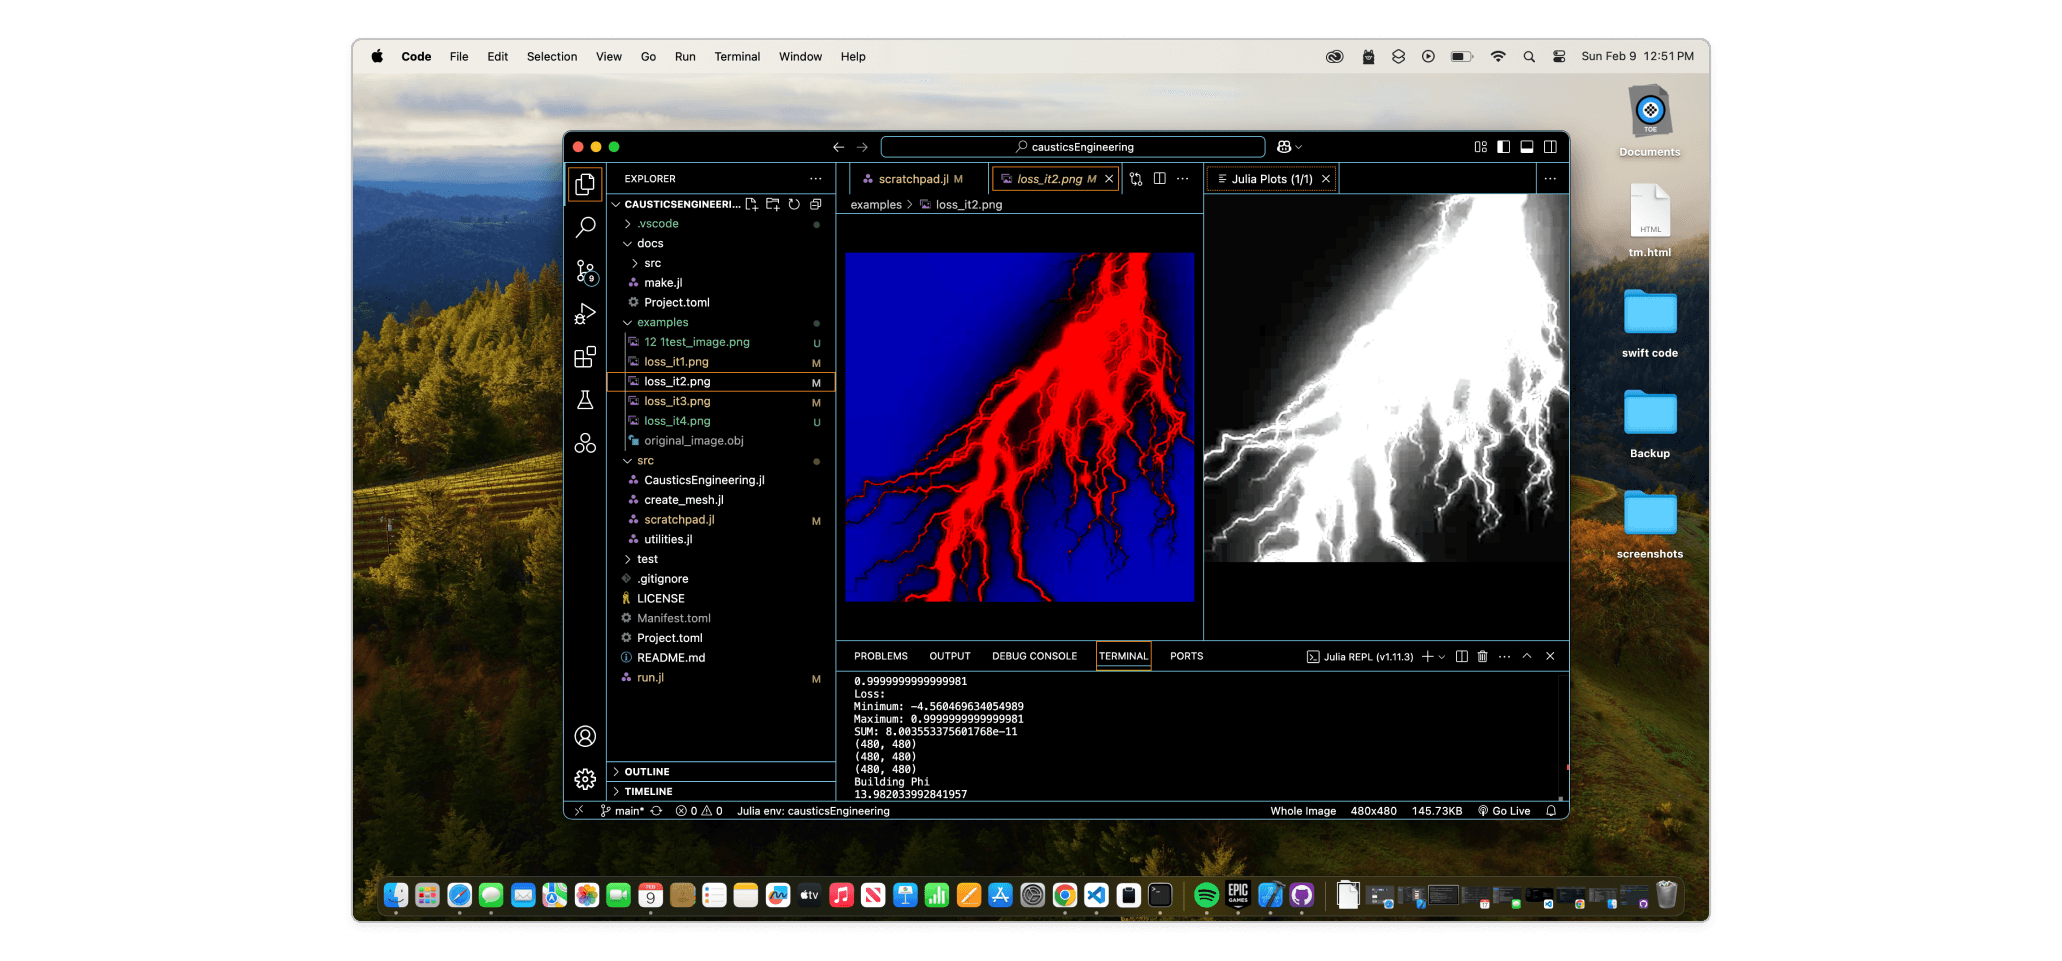
Screenshot of Julia code running
With our 3D model in hand, we needed to prepare it for CNC machining. Neither of us had experience with Fusion 360, so we sought help from Phil Caridi at the ITP shop. Phil gave us a crash course on CNC machining, helped us set up toolpaths, and designed two cutting jobs: a general pass with a large carbide bit and a more detailed cut with a smaller bit.
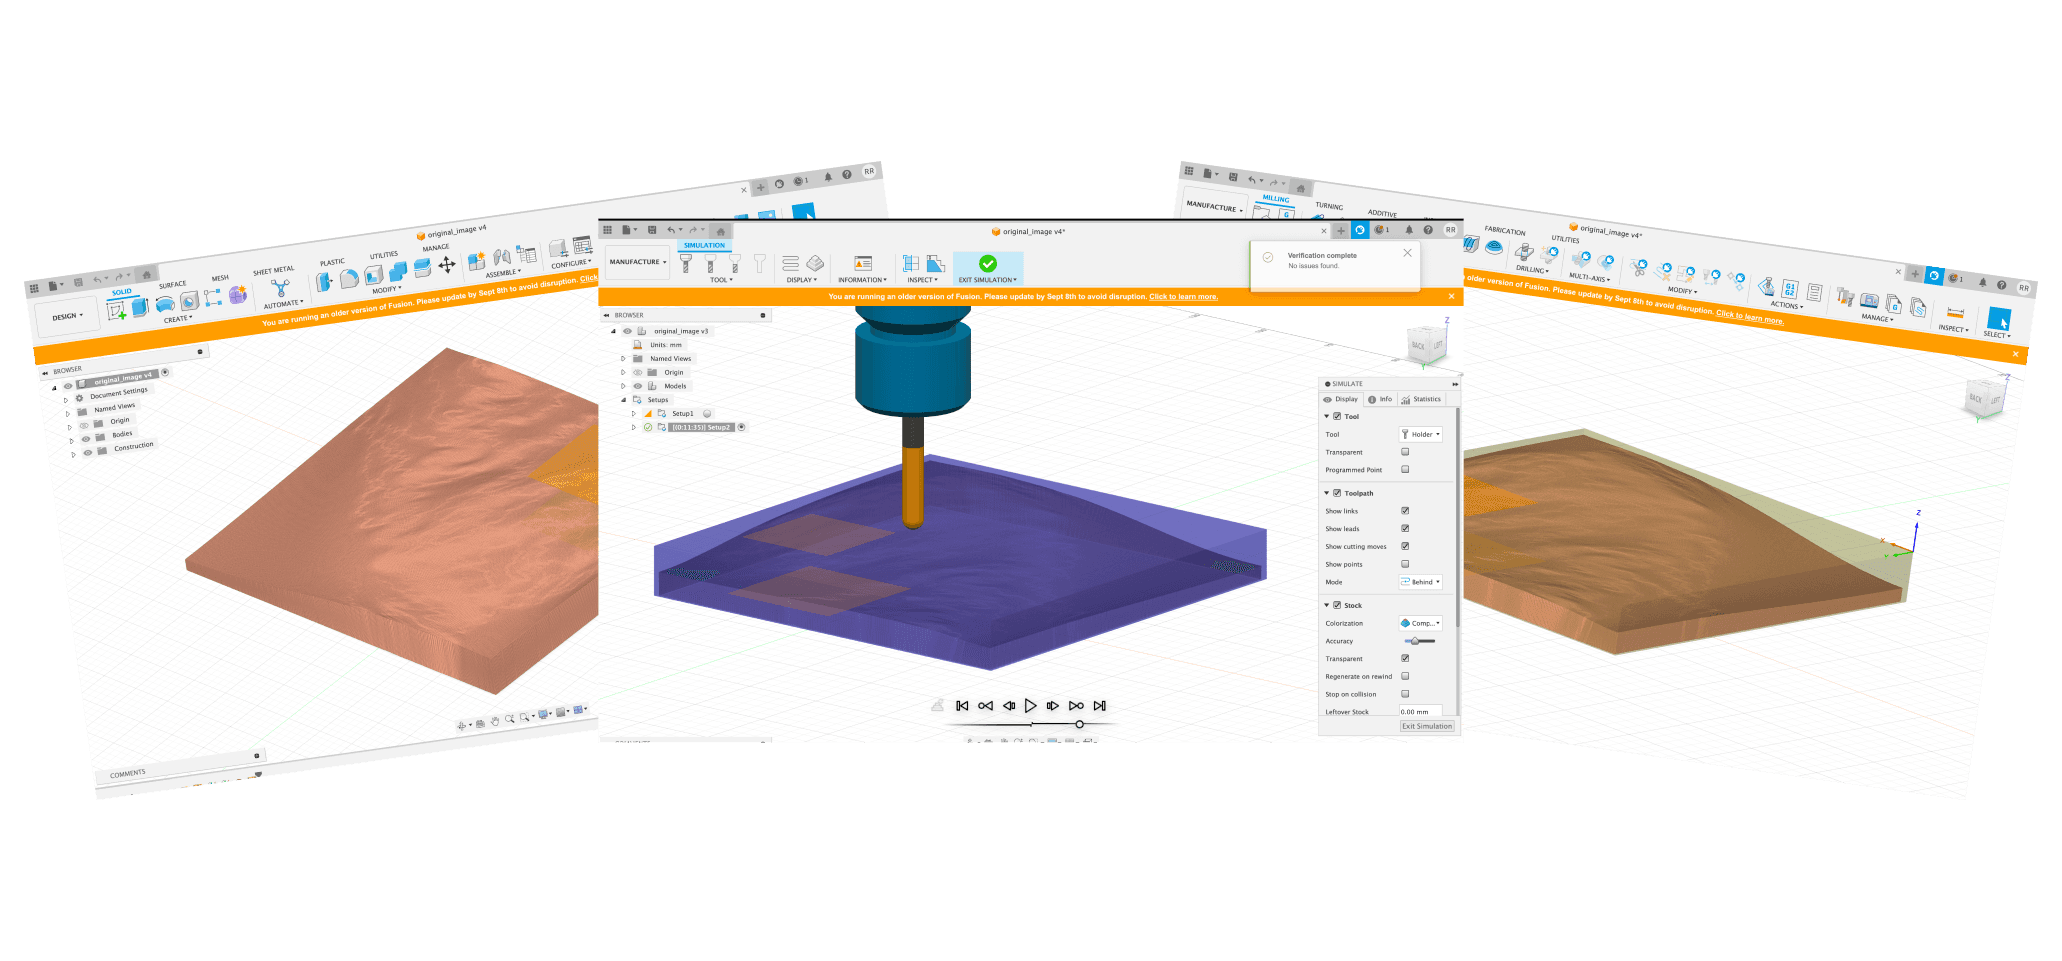
Fusion 360 setup with tool paths
We spent an entire day at the CNC machine with Ian, carefully cutting the acrylic, cleaning the machine, and completing the jobs Phil had set up. The process was time-consuming but successful.
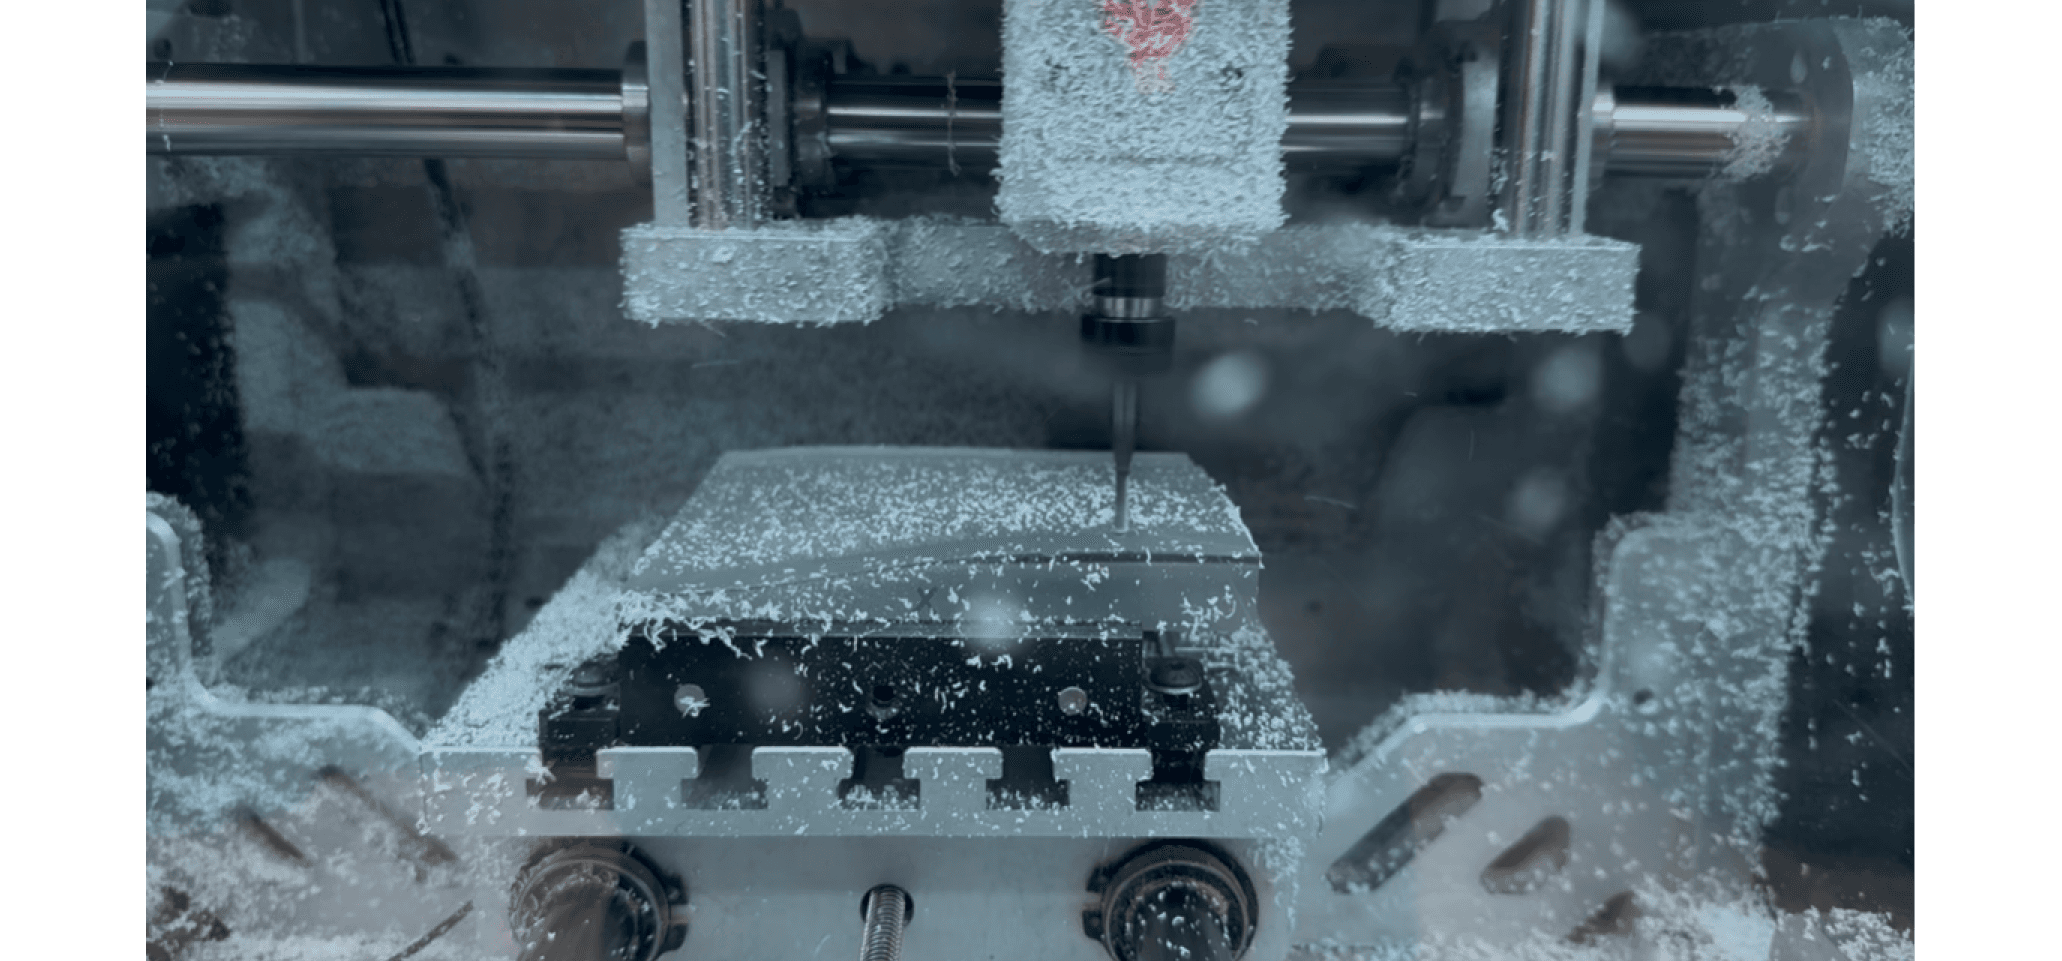
CNC machine cutting acrylic
Following Ferraro's blog instructions, we wet-sanded the lens with 1000 and 1500 grit sandpaper, then polished it with automotive polish. After all our effort, we were anxious to see if the lens would actually work.
To our amazement, it did! When light passed through our finished lens, it successfully projected our lightning bolt image.
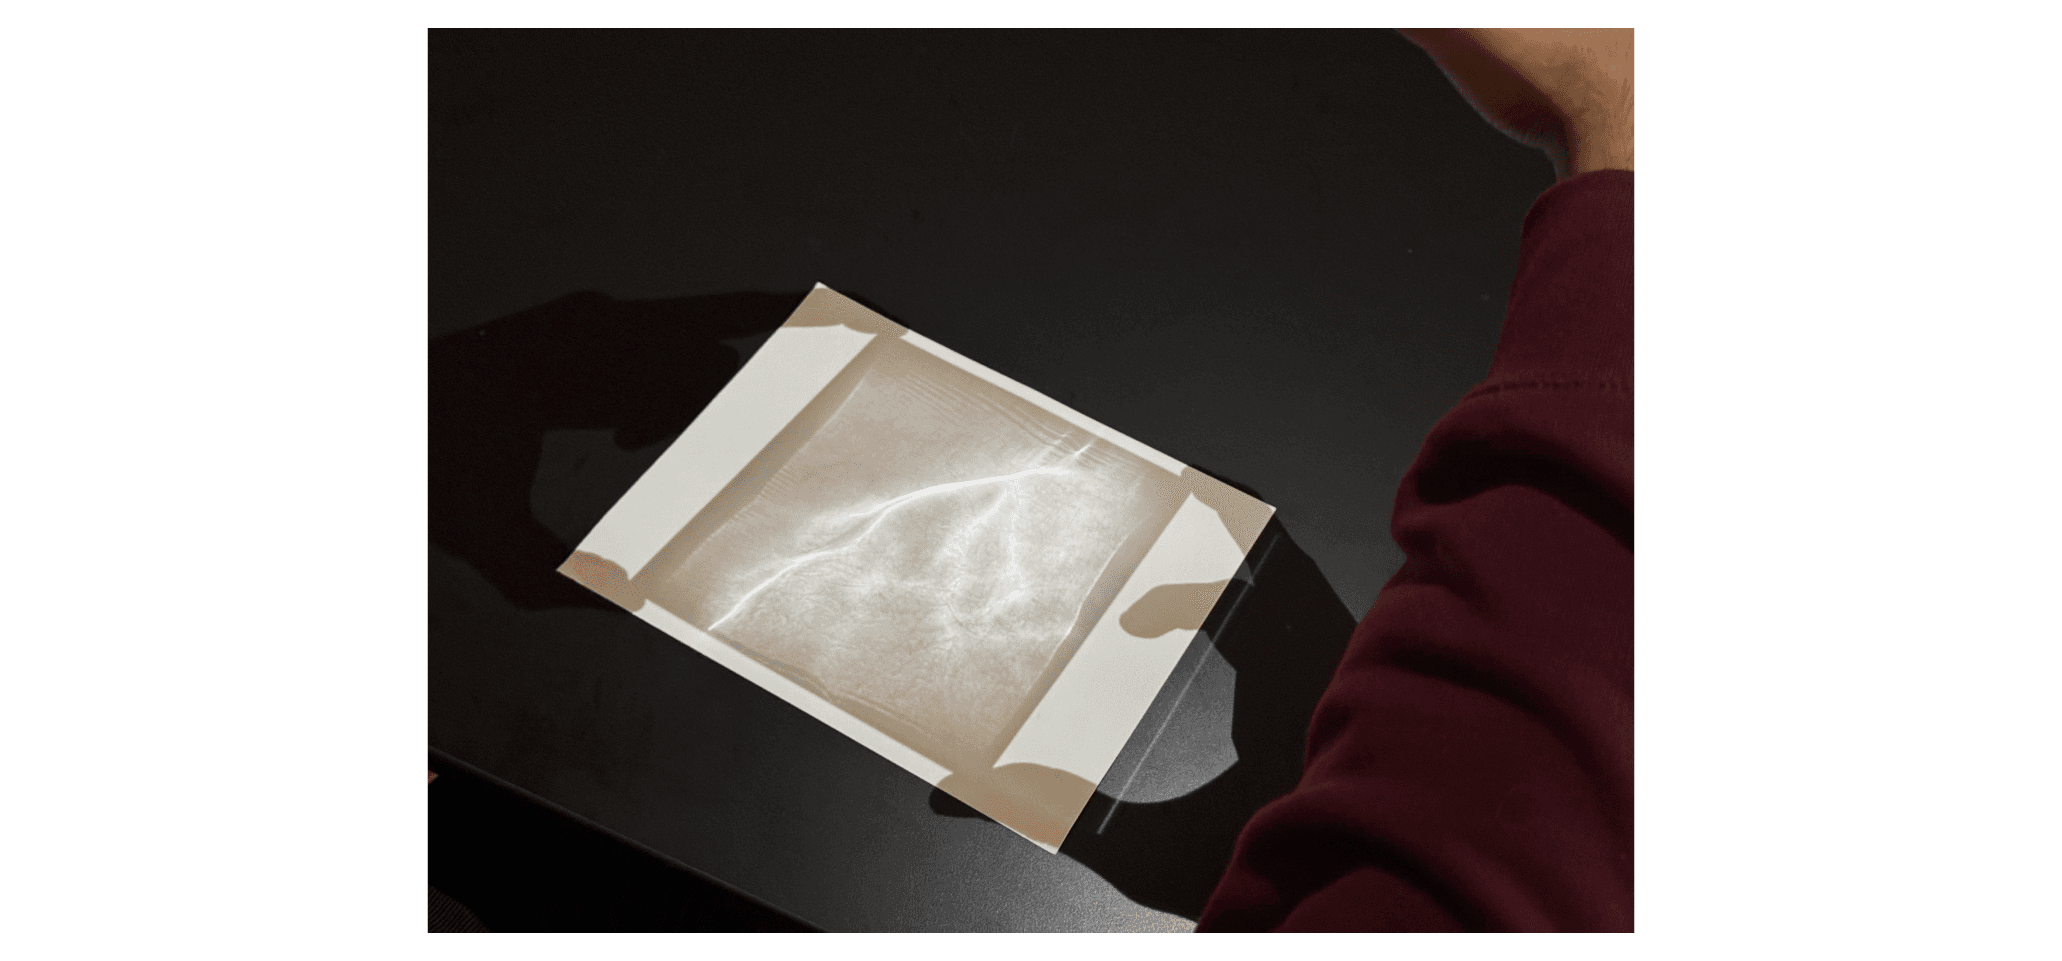
Finished lens with projected lightning bolt image
With our most challenging component complete, we were ready to tackle the mechanical aspects of our project.
Mechanical Challenges
Having successfully created our caustic lens, we assumed the mechanical aspects of the project would be more straightforward. We were wrong.
Neither of us came from a mechanical engineering background, and this became apparent as we tackled the hand crank mechanism. We found a promising 3D-printable hand crank design on Instructables that seemed perfect for our needs.
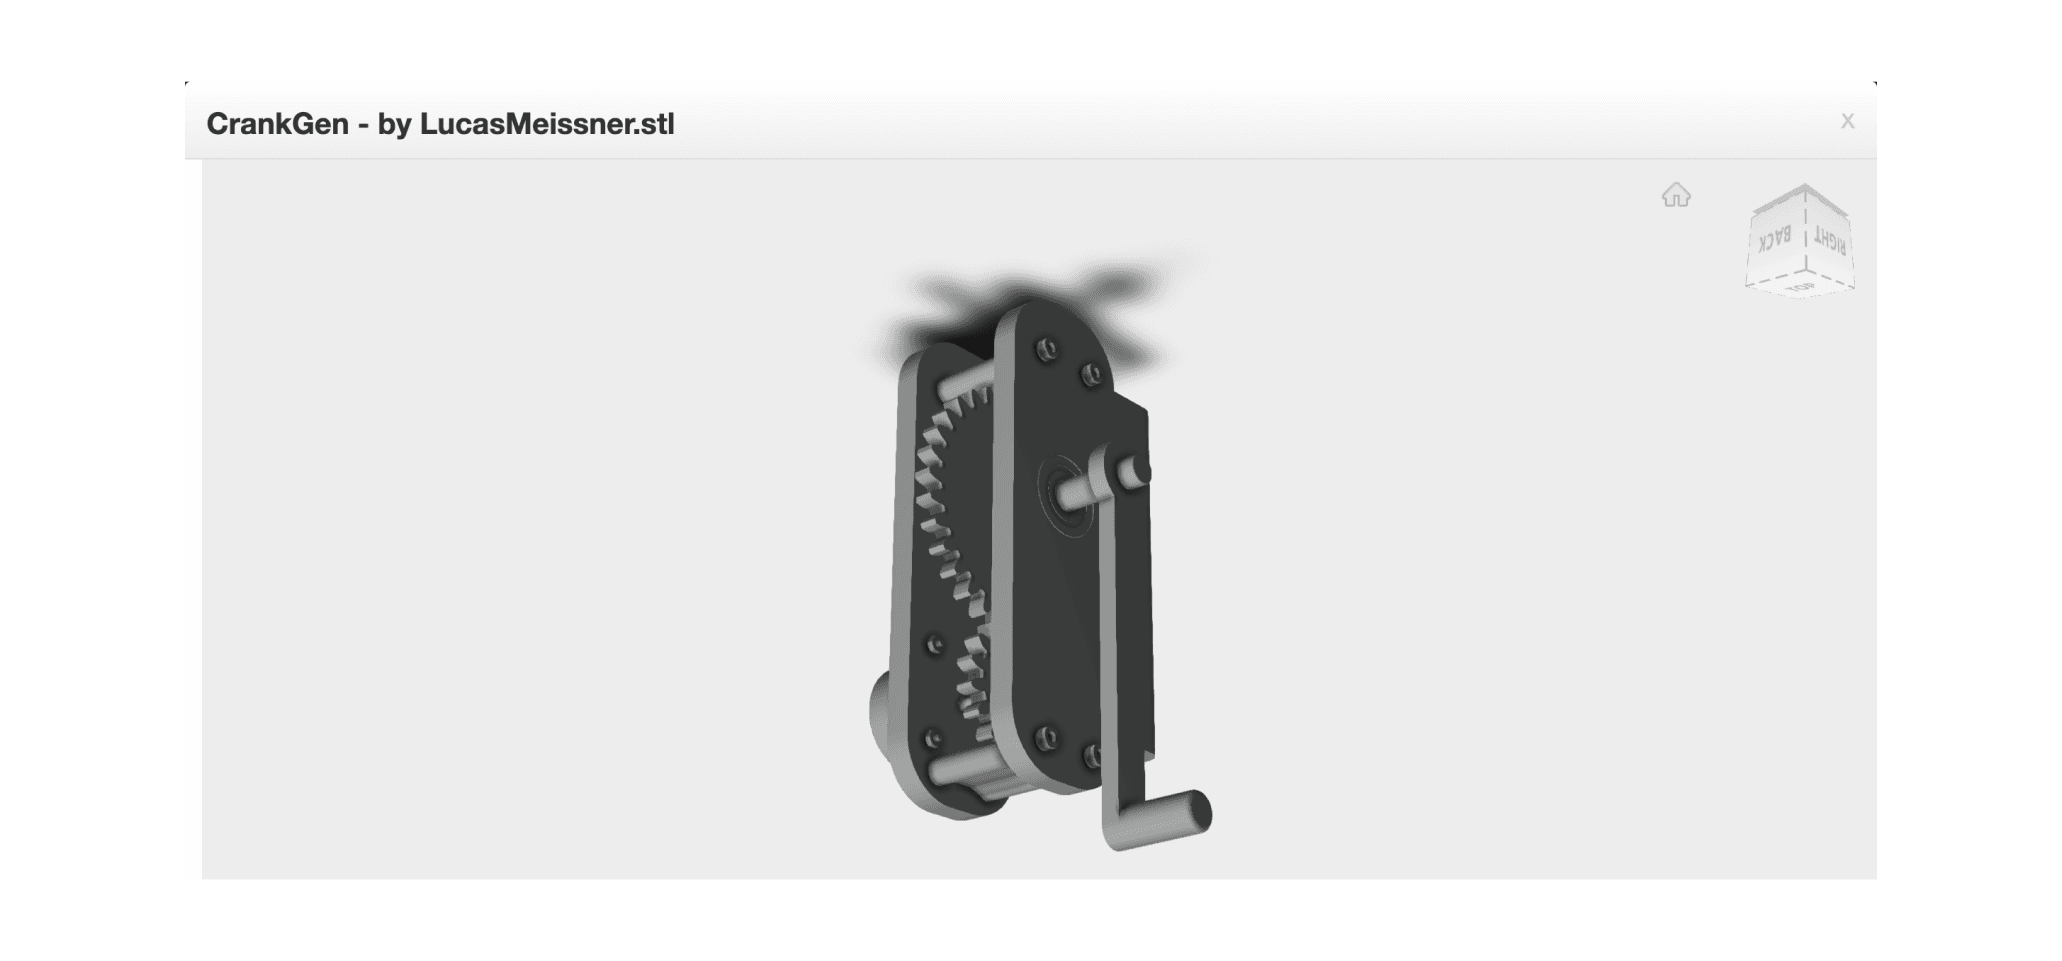
Original Instructables hand crank design
Our first challenge was that the original STL file contained one large assembled crank with many small parts, which would have taken too long to print. Using Prusaslicer software, I separated the design into individual printable components and removed unnecessary parts.
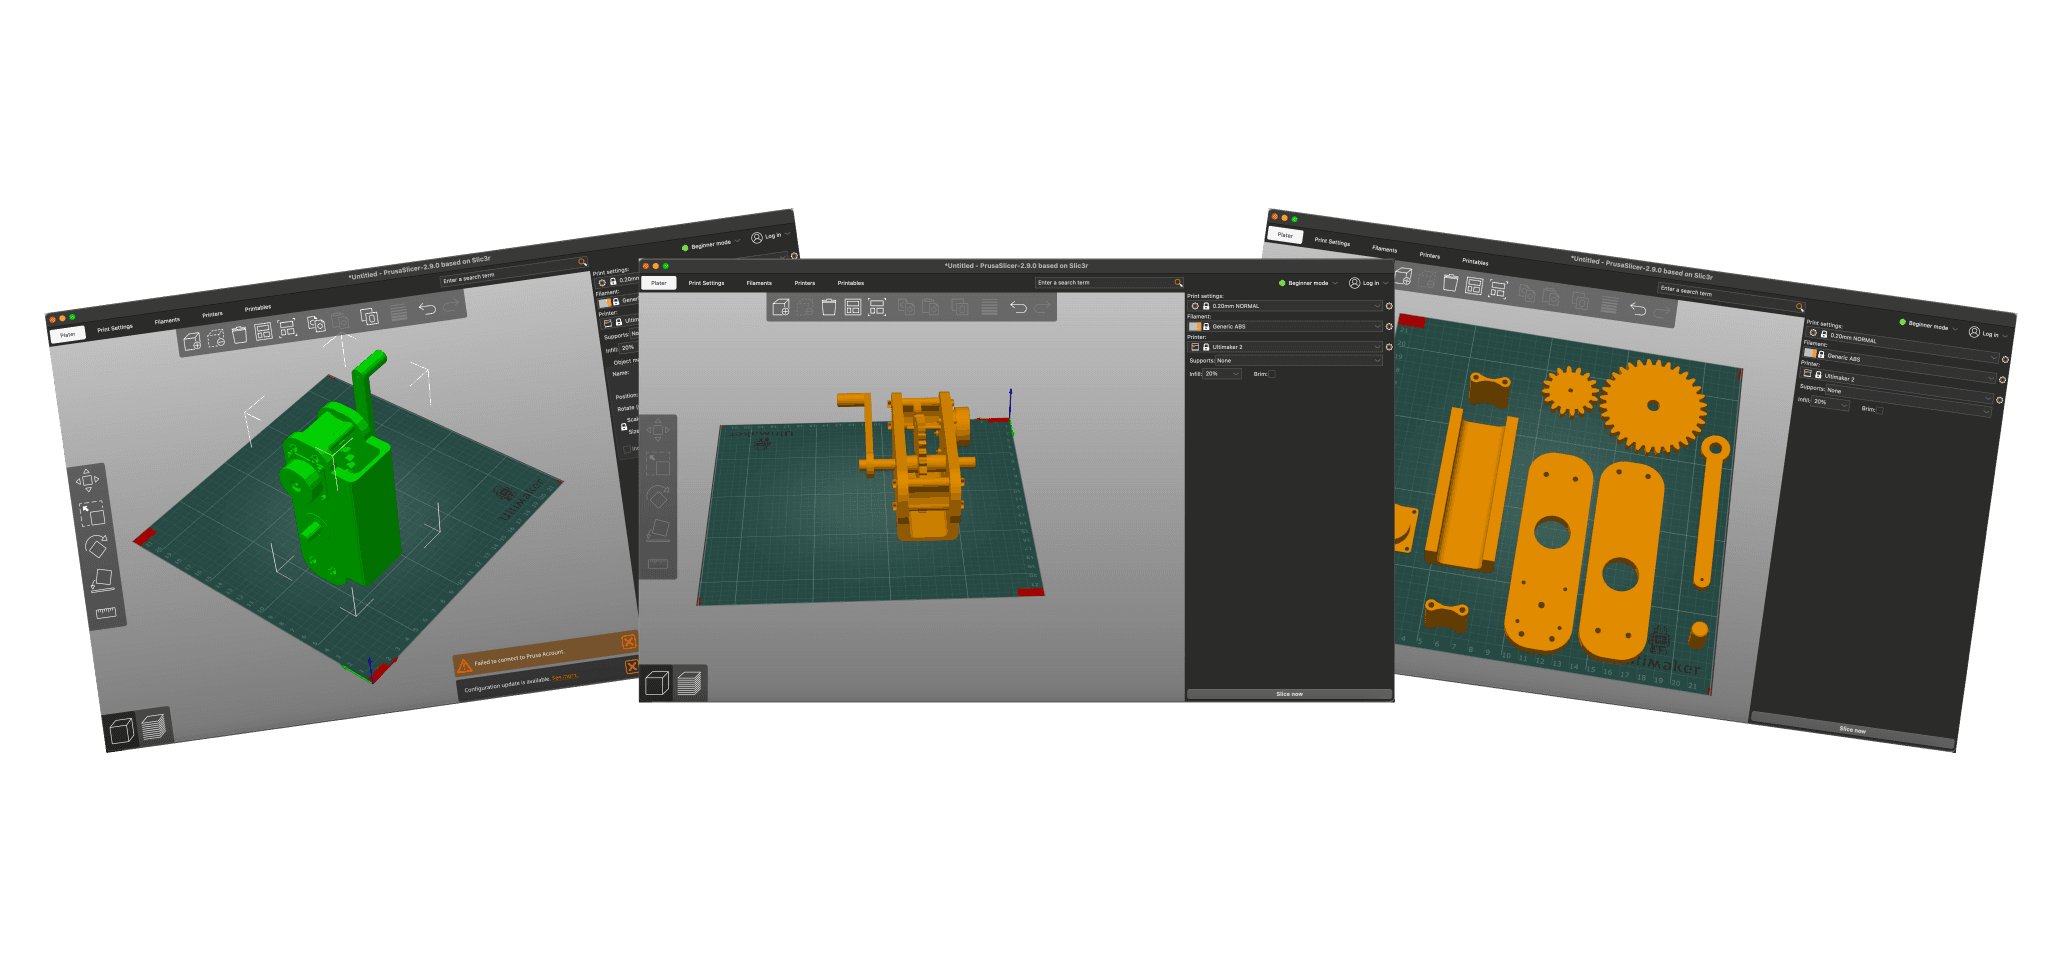
Screenshot of Prusaslicer separating components
When we printed these components, they came out far too small to be usable. We attempted to scale them up, but this required significant trial and error as we guessed at dimensions in 3DPrinterOS. After several failed attempts, we finally remembered to measure these components against our actual motor and hardware.
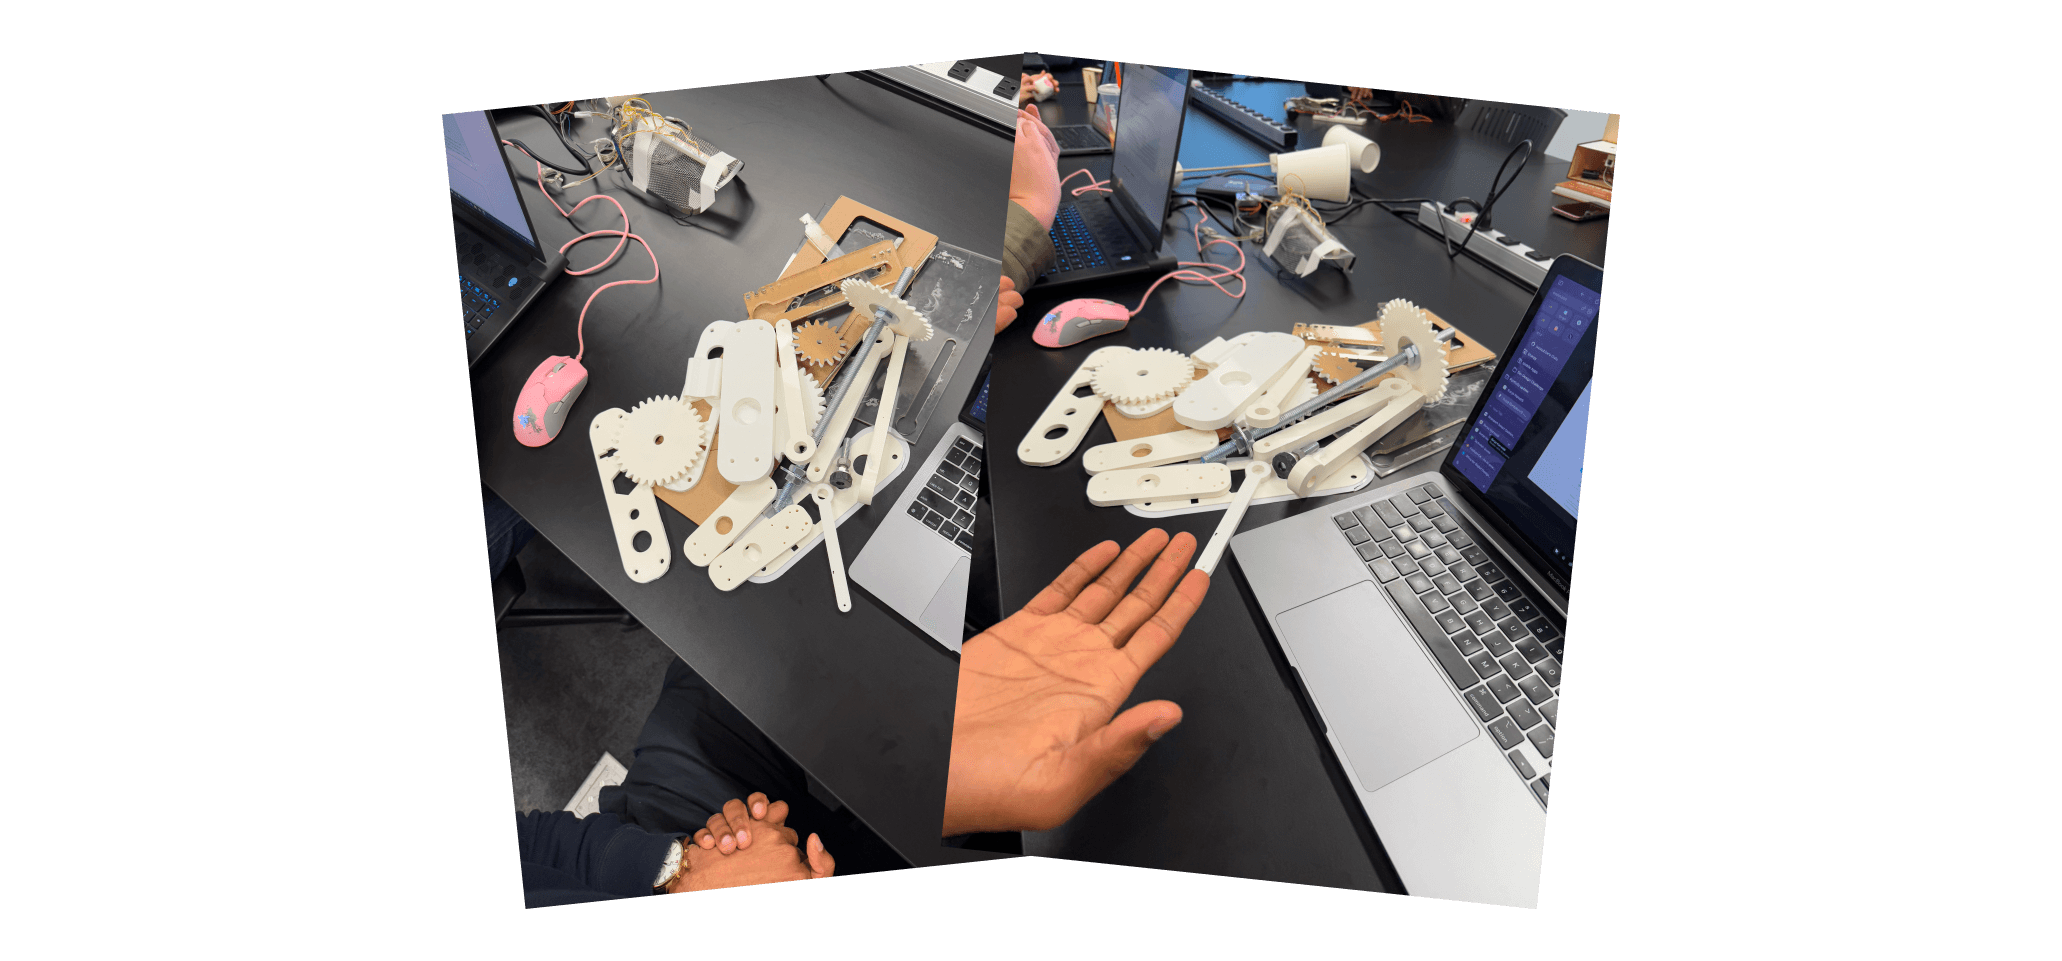
Failed 3D printed parts comparison
Even when we got the sizing right, we encountered issues with the printed gear not fitting properly with our motor. I had to file down parts of the gear, which compromised its design and functionality.
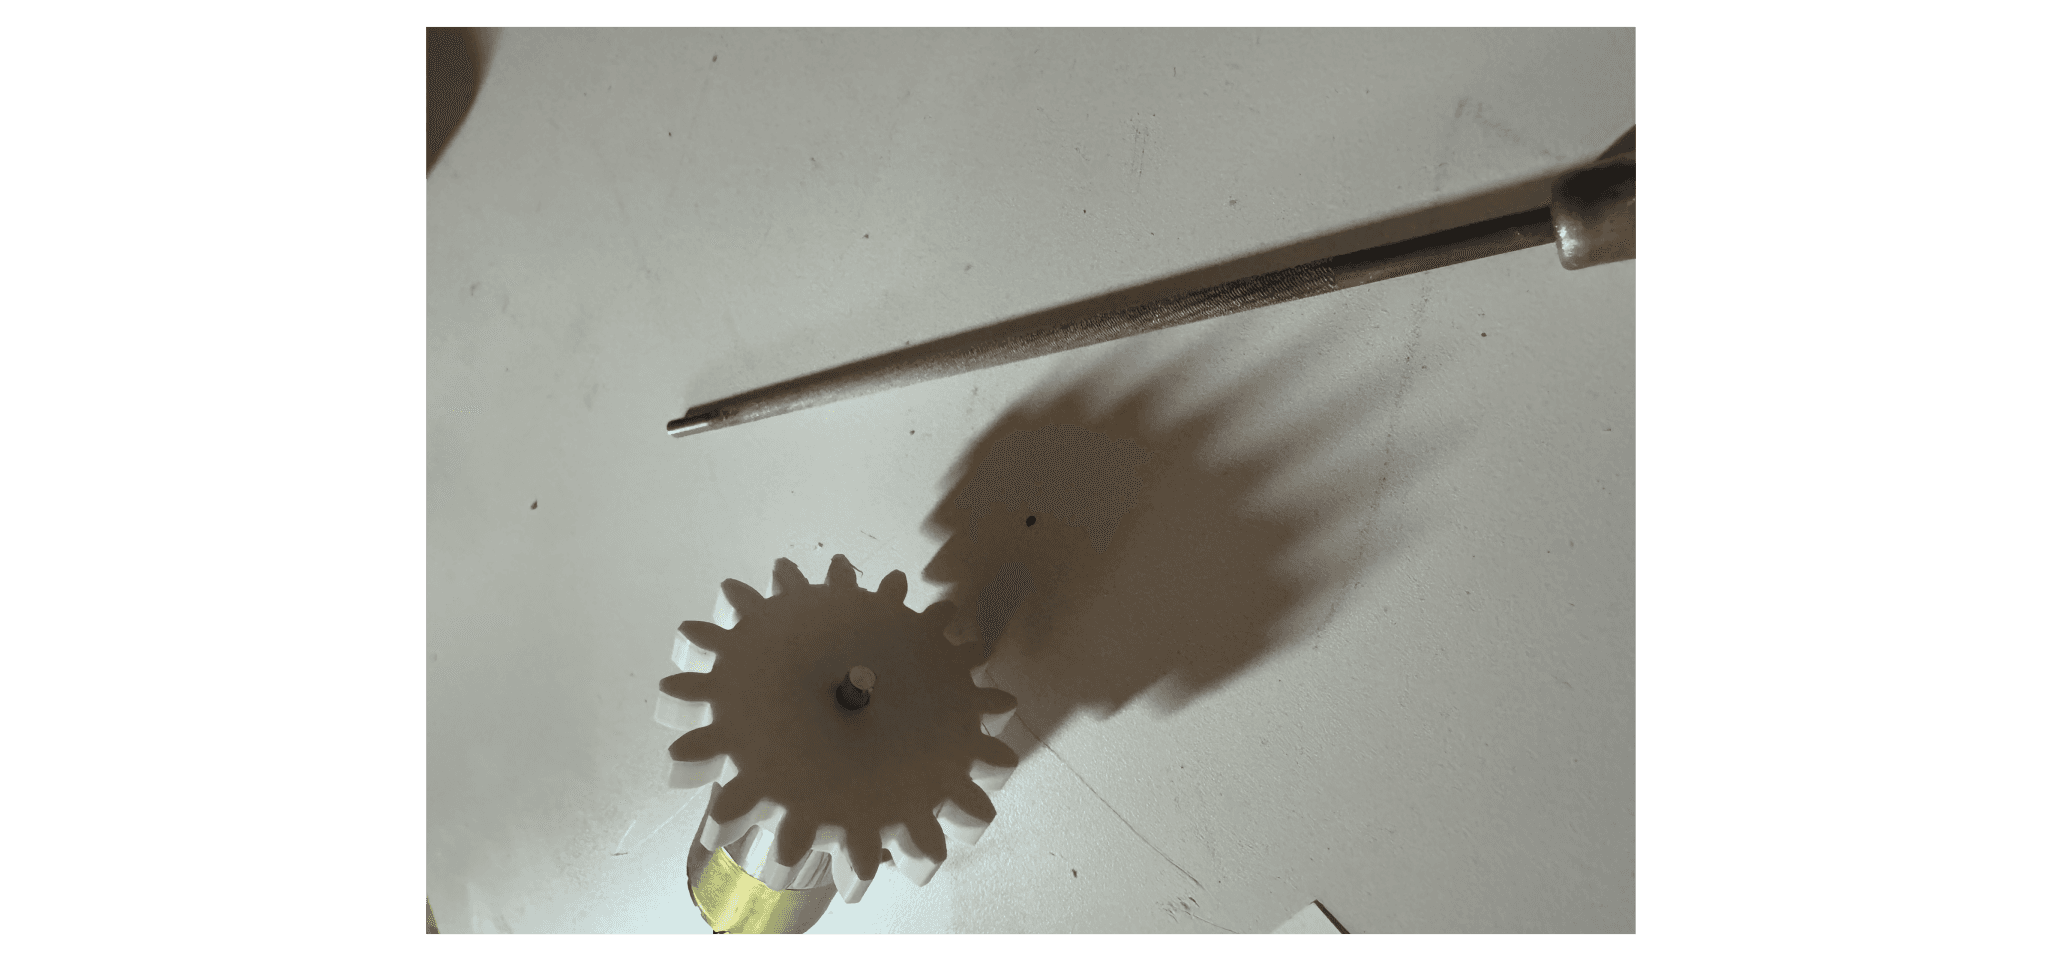
Filed-down gear next to motor
After multiple failed attempts and wasted prints, we reached out to our fellow ITP student, Fabri, for help. He suggested a more precise approach: using the laser cutter for components that required exact dimensions. By drawing a sketch in Fusion, exporting it as a .dxf file, importing to Illustrator, and laser cutting acrylic, we produced a perfect small gear for our motor.
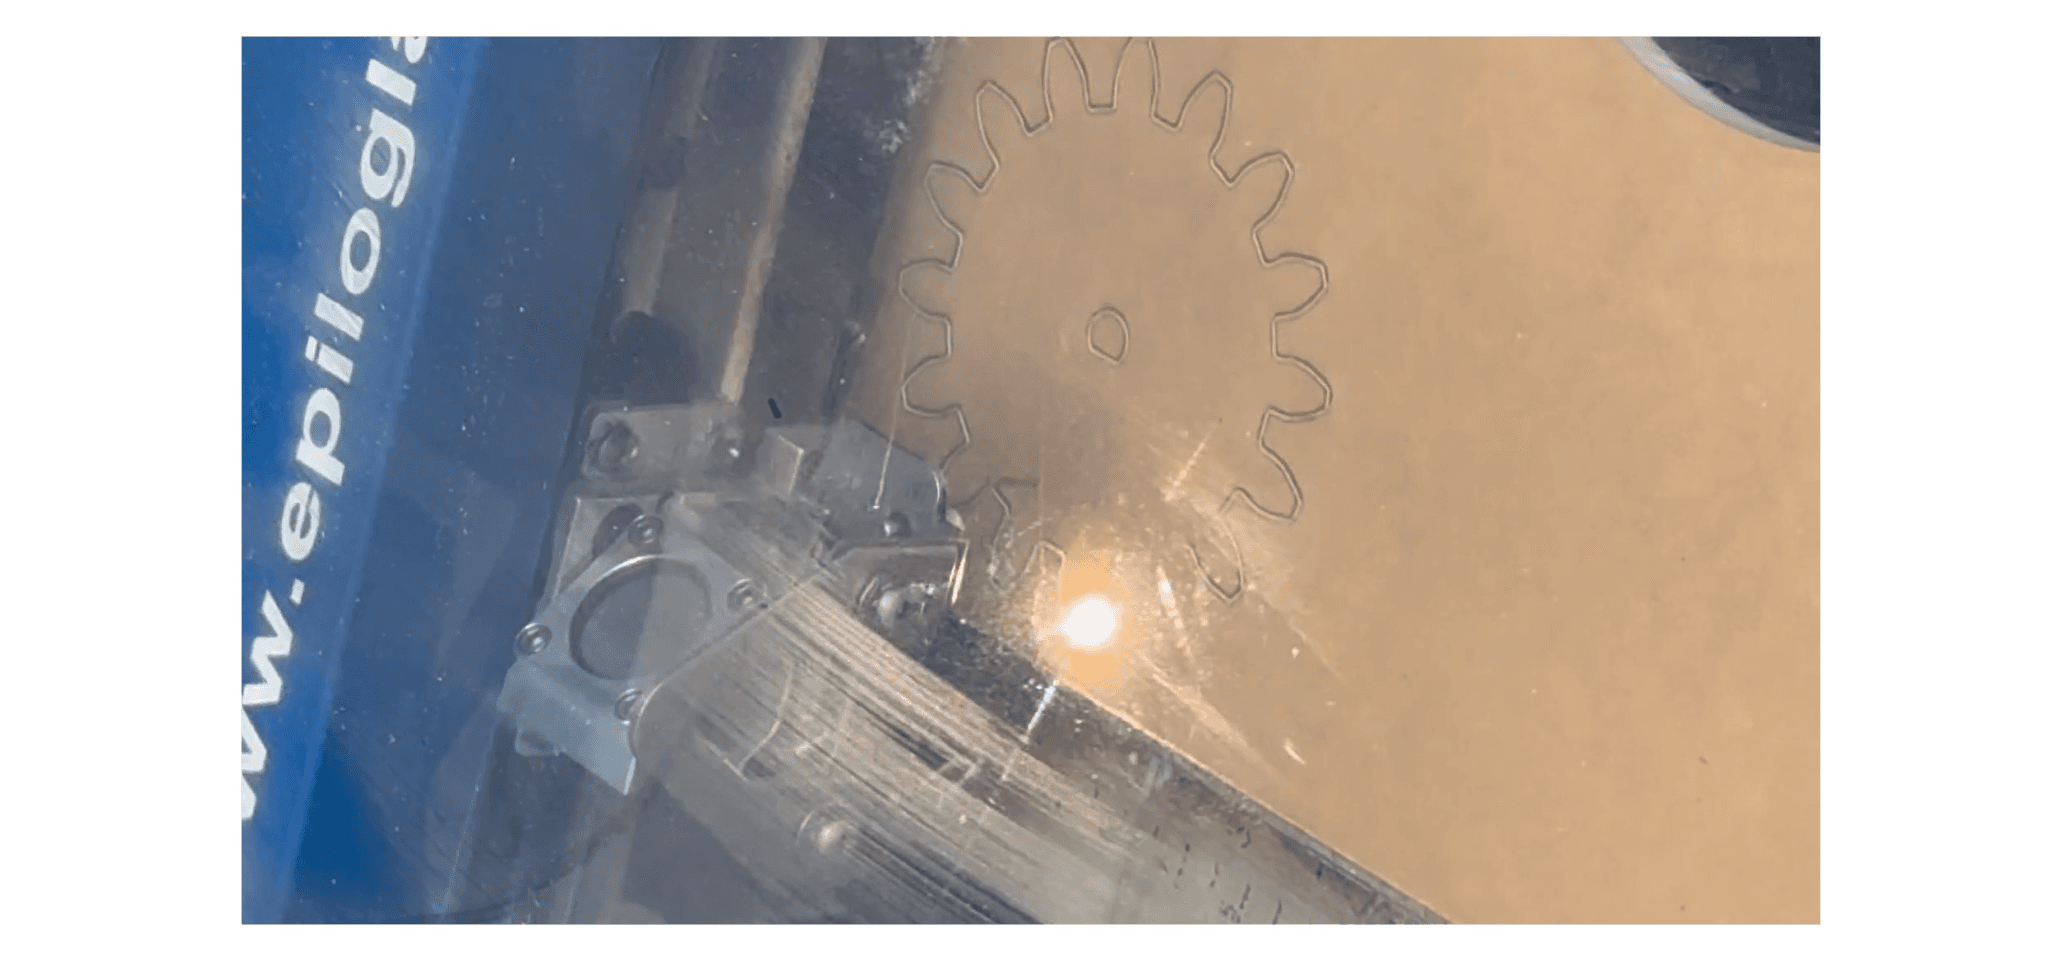
Laser-cut gear fitting perfectly with motor
While the laser cutter solved some problems, we continued using 3D printing for the larger gear and casing sides. The larger gear worked adequately around a threaded rod with nuts and washers from Home Depot, but the side cases failed to properly contain our project components.
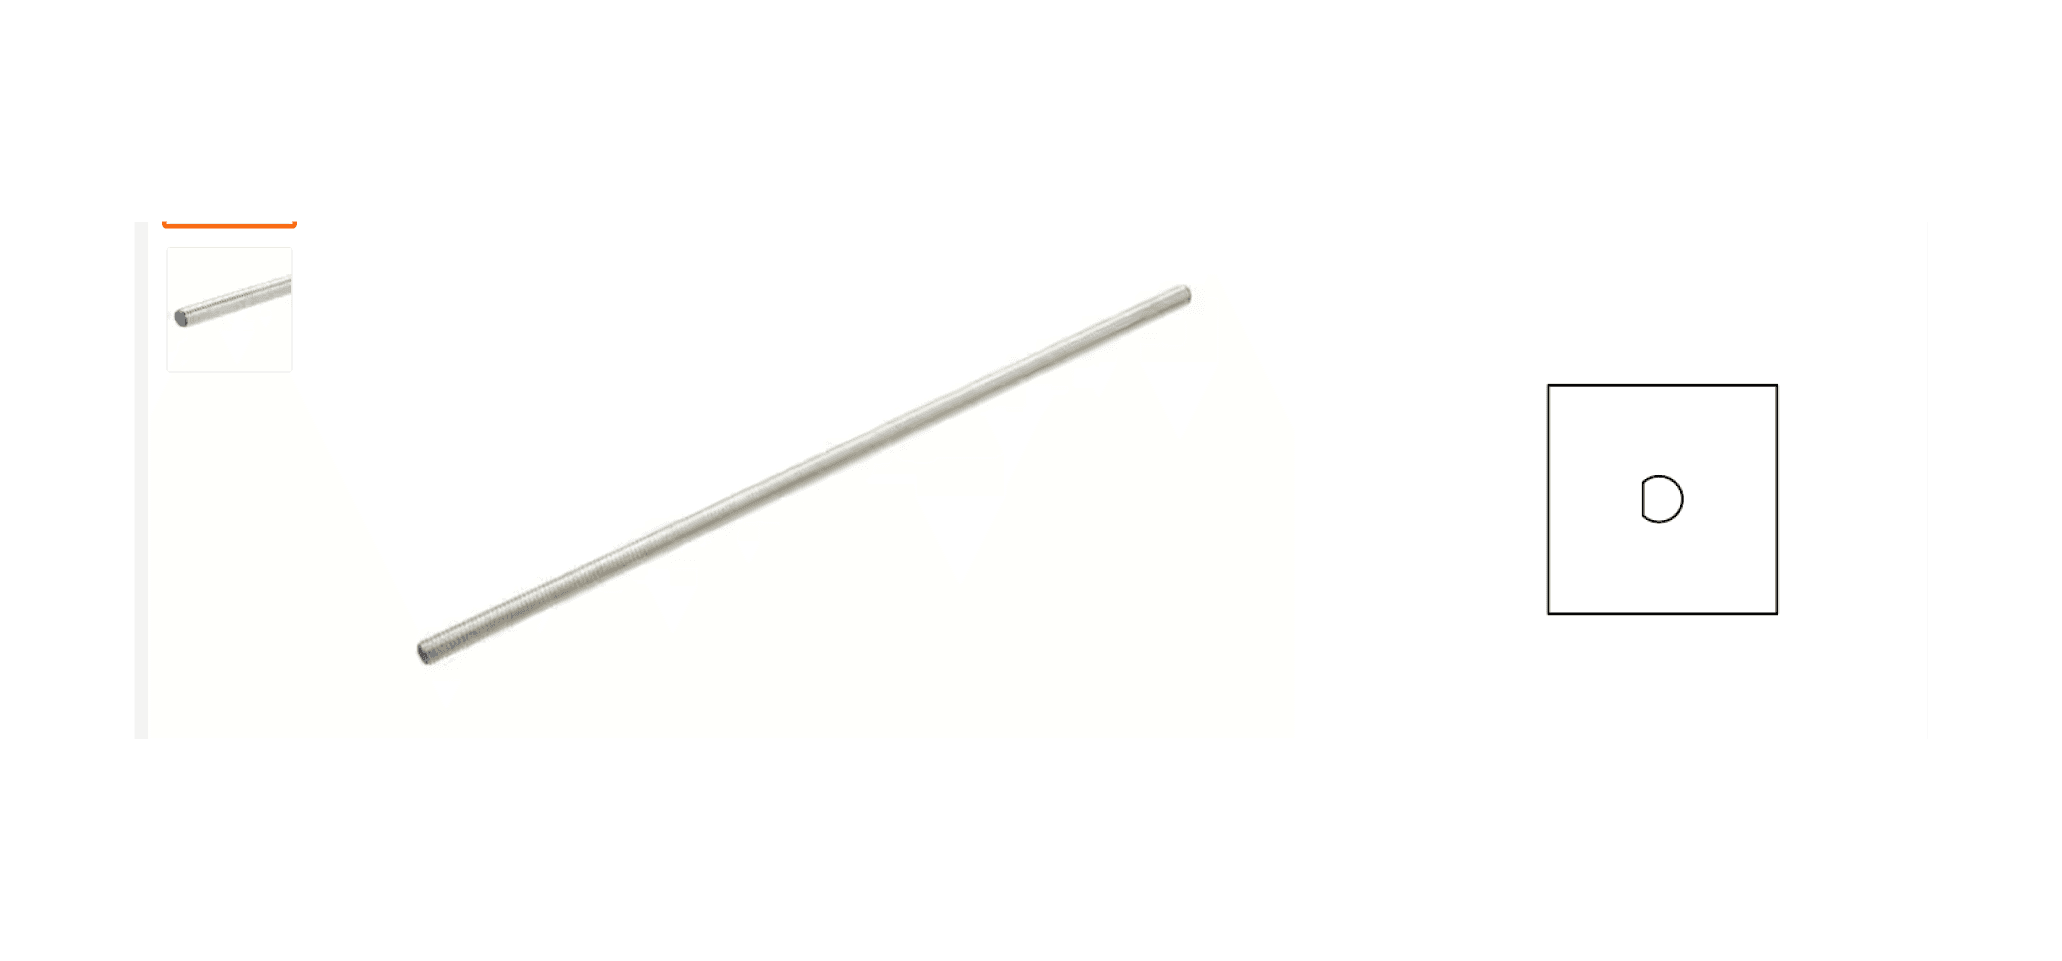
Assembled larger gear with threaded rod
We pivoted to a simpler design: a crank with a lower hole fitting our DC motor and an upper hole containing a bolt secured with nuts as a handle. This wasn't our original vision, but it was functional given our time constraints and fabrication challenges.

Final simplified crank design
Electrical Success & Final Implementation
In contrast to our mechanical challenges, the electrical components came together with relative ease. We disassembled a flashlight and quickly figured out how to complete a circuit connecting the motor to the LED bulb and metallic rim.
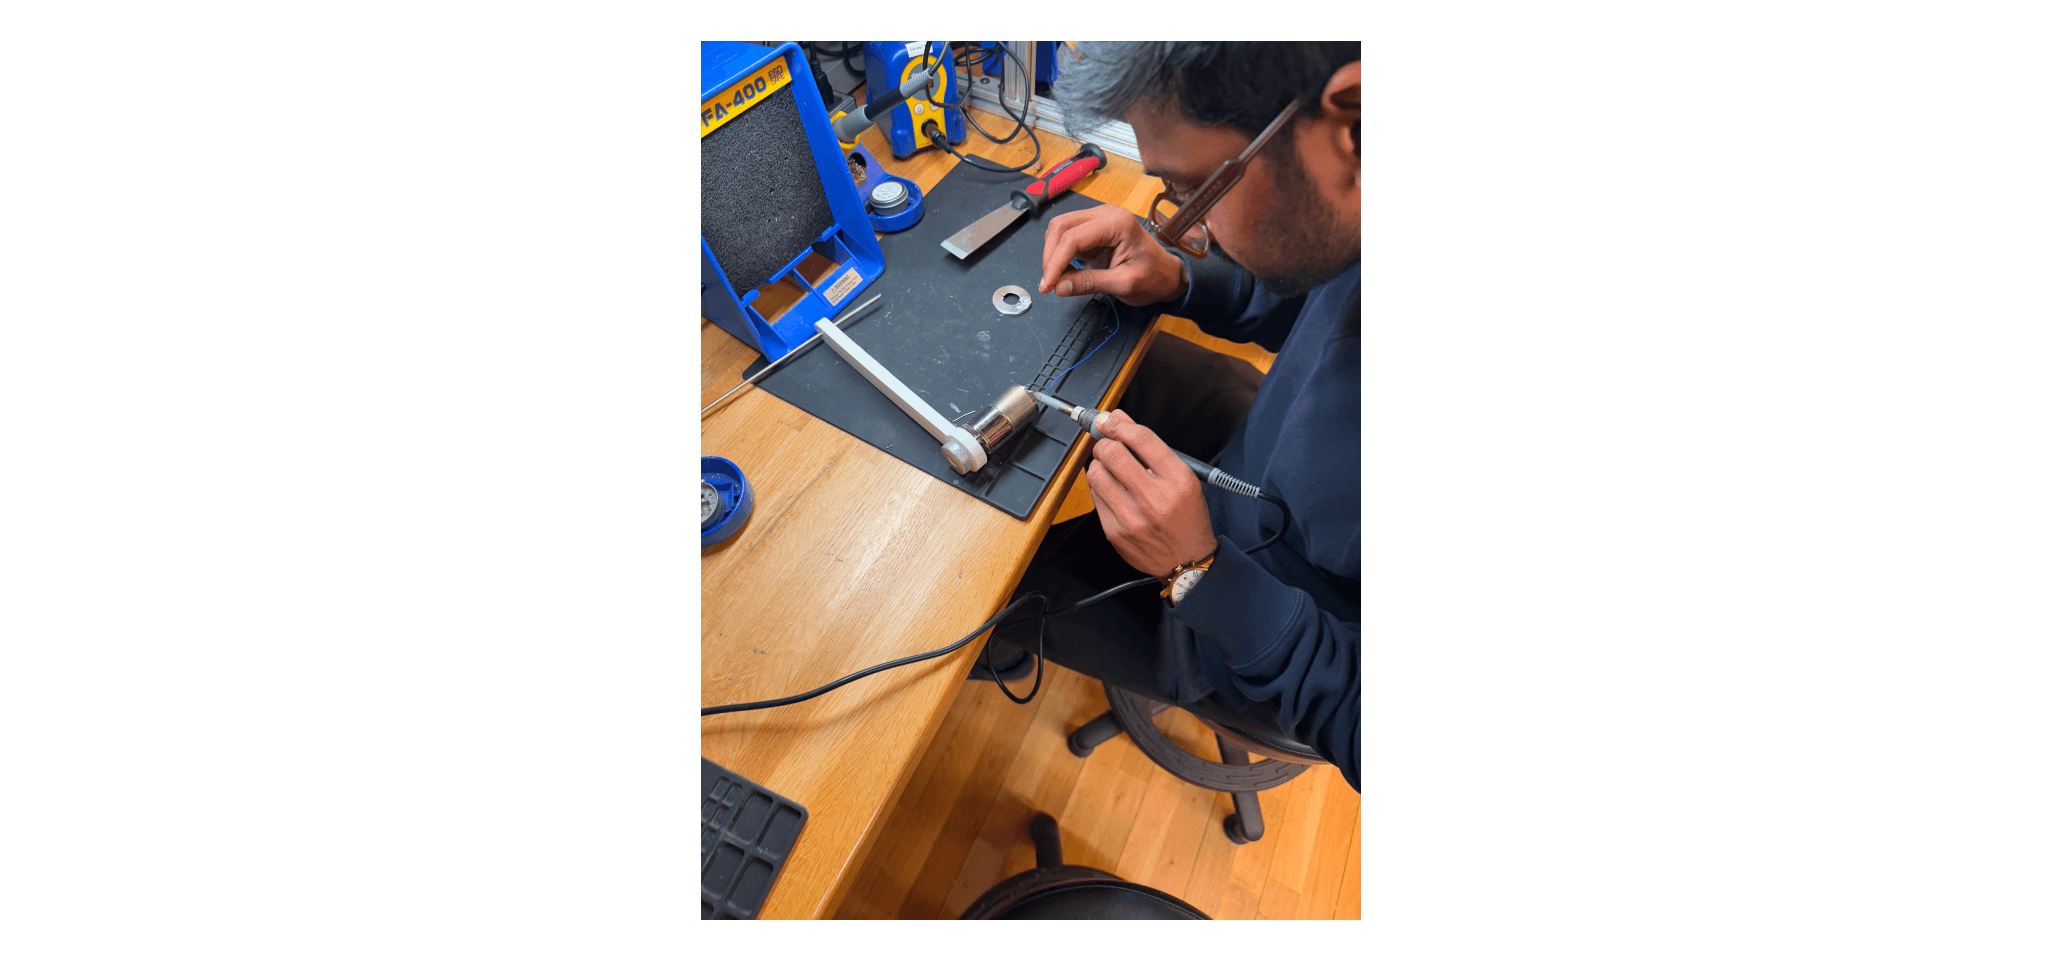
Disassembled flashlight components
With our electrical circuit working, we connected it to our mechanical components. We had successfully created:
A functional hand crank mechanism
A working electrical circuit
Our caustic lens displaying the lightning bolt image
Connected electrical circuit
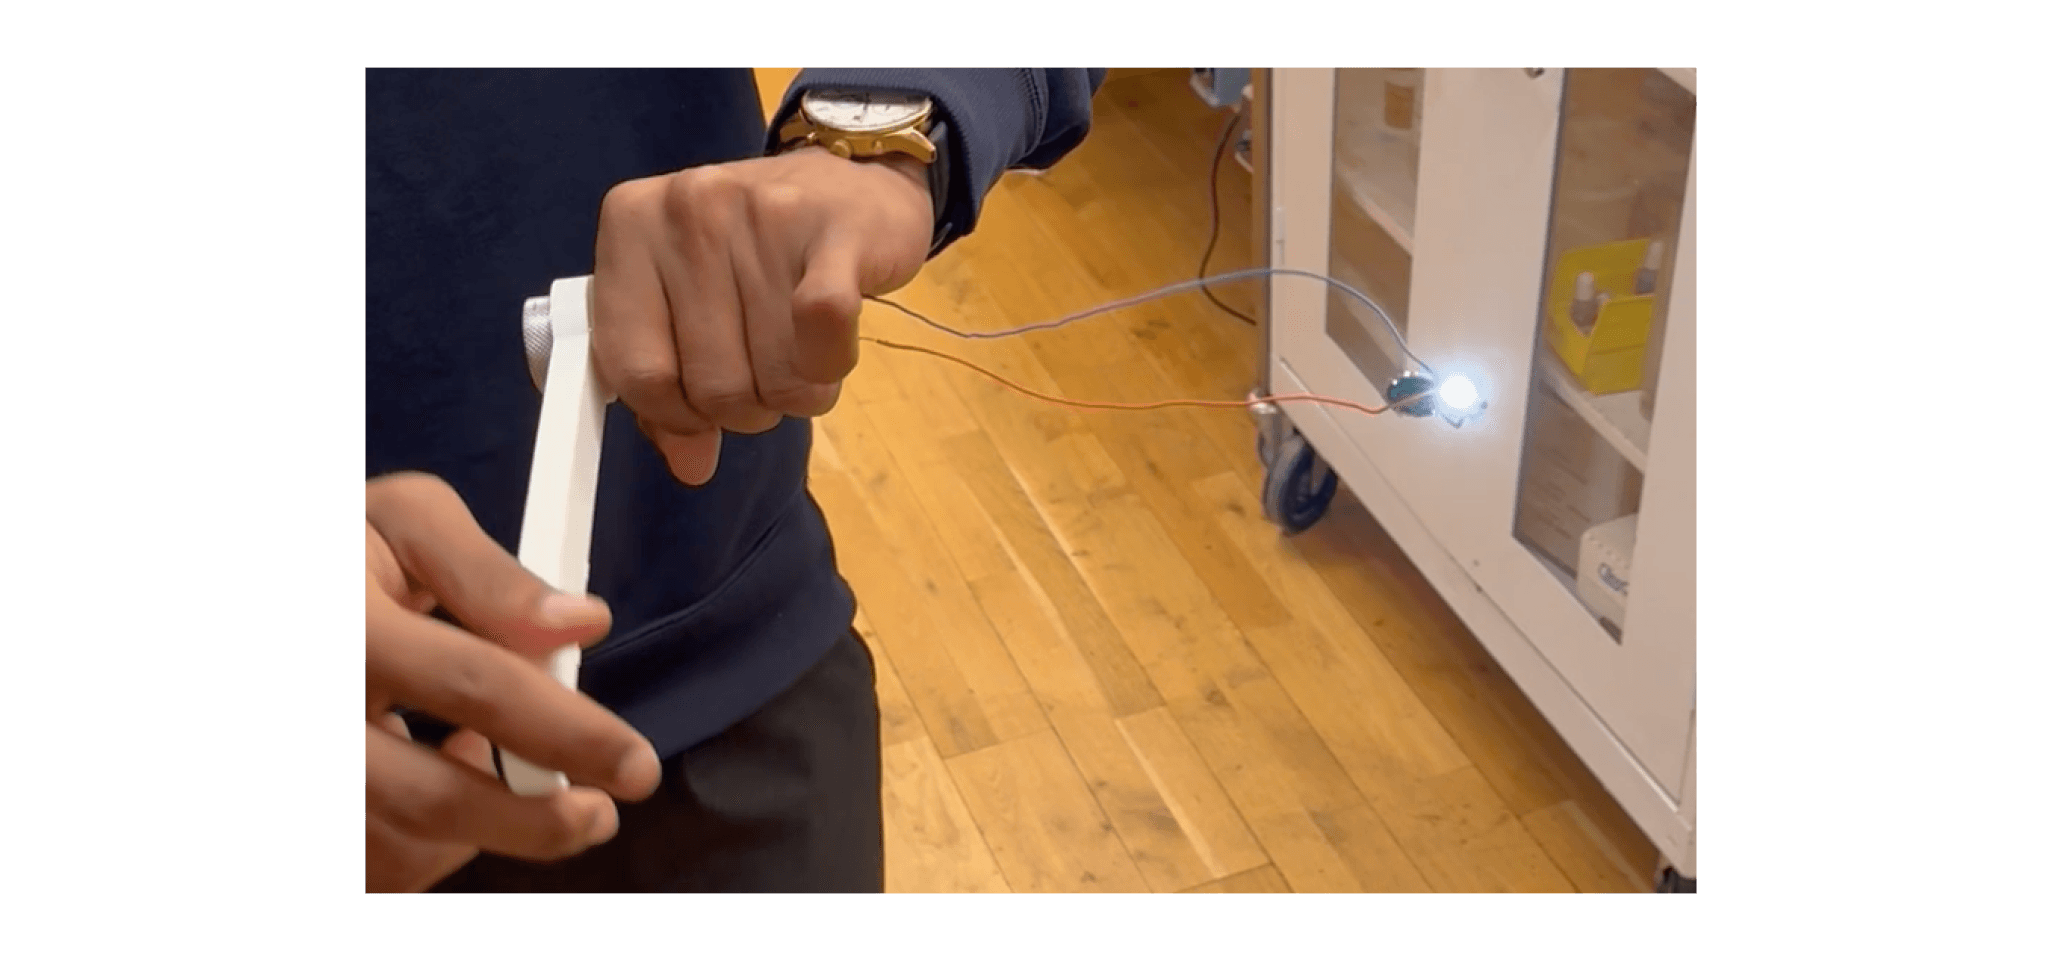
Time constraints prevented us from implementing our complete vision of an enclosed projector with a rectifier circuit and proper base. Instead, we found a spare 3D printed handle from one of our many failed attempts and secured it around a handwheel we already had.
The final product was simpler than our original vision but still achieved our core goal: transforming human motion into light and projecting an image through our custom caustic lens.
Complete hand-cranked projector in action
Lessons Learned
This project taught us several valuable lessons about design, fabrication, and energy generation:
We gained a deeper appreciation for how much physical effort is required to generate even small amounts of energy
We learned about the challenges of mechanical design for those without engineering backgrounds
We discovered the advantages of different fabrication techniques (laser cutting vs. 3D printing)
We experienced the value of interdisciplinary collaboration and expertise
As Ryan noted, "We are truly living off the shoulders of giants in all that we do." And one practical lesson: "Never use plastic or acrylic to turn a motor."
Our final product wasn’t what we first imagined, but the process gave us hands-on lessons we’ll carry into future work.